After months of planning, designing and DIY work, we have finally finished our small kitchen remodel. I am so happy to welcome you to my “Little Blue Kitchen,” and walk you through the remodel process
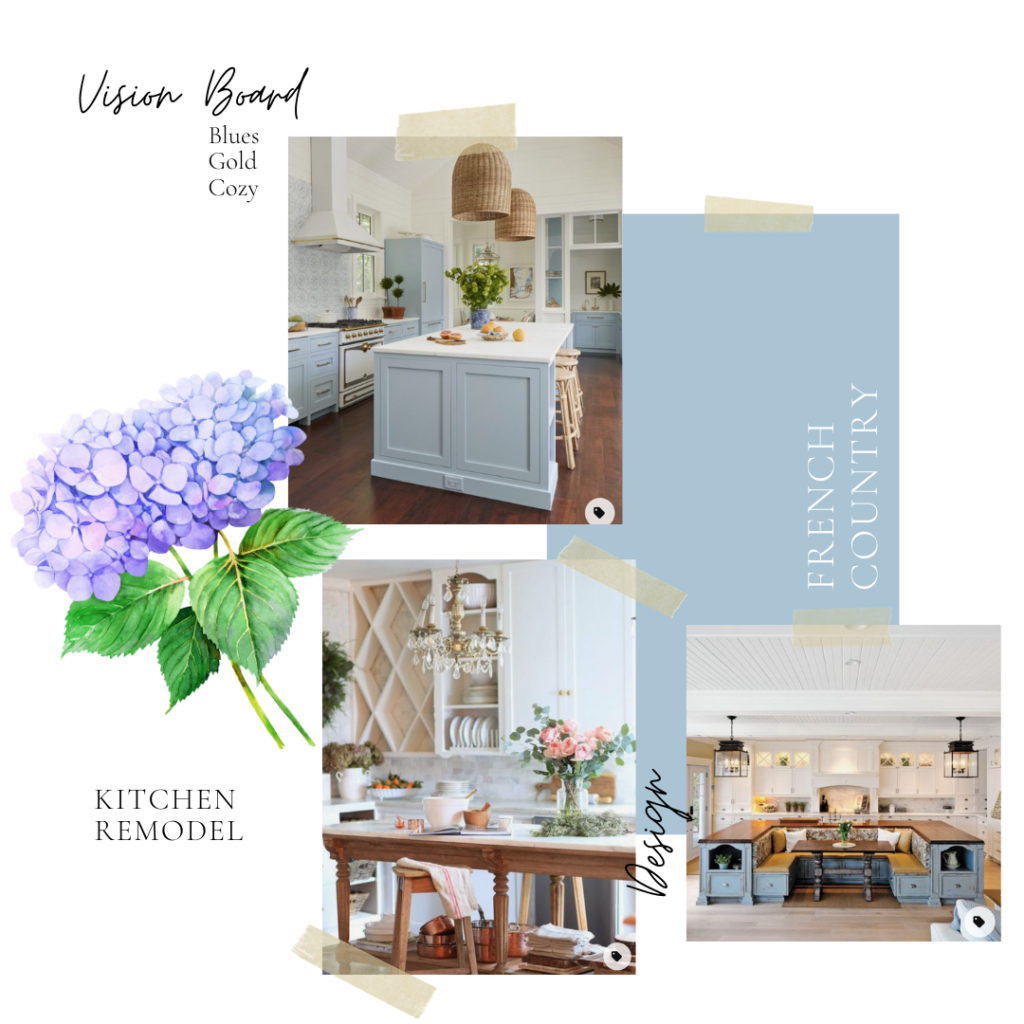
French Country Inspired Vision
Since I was young, I always been in love with the subtle romance and whimsy that is seen through French Country inspired homes. I wanted to bring that vision into my home. Perhaps my love of this style comes from my infatuation with Disney’s Beauty and The Beast since I was a child. Specifically, I was drawn to the opening scene where Belle is walking through her small provincial town, with her nose stuck in a book. There is something that always captivated me about the simple, provincial cottage living.
With the ongoing pandemic many of our trips had to be postponed, including a trip we had been planning to the Europe to celebrate our wedding anniversary. I had my heart set on a trip to the French Countryside, dreaming of visiting vineyards and hills of beautiful landscapes. We did not let that stop us from enjoying our time at home, but it did bring us time to consider some renovations we had put off when we originally bought our house.
Design Planning and Process
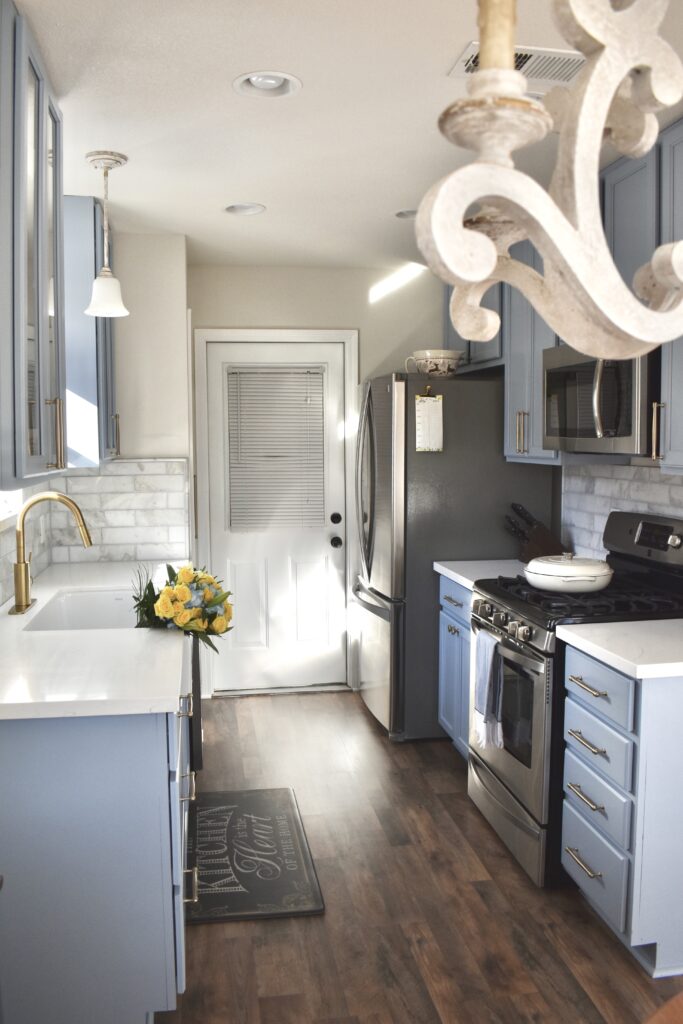
Towards the end of the year, after watching a great deal of Home Town, I started joking about painting the kitchen. To my surprise, my husband wasn’t opposed. We were particularly inspired by an episode in which Erin, designs a large island with built-in-seating which was painted a soft French blue. We started talking about knocking down walls and moving cabinets from wall to another and adding an extension island with built-in-seating. Before we went further with these plans we decided measuring the space was a better idea. (I must add that our kitchen is designed as a galley kitchen. It is quite small and connects to a small breakfast area that also doubles as our dining room. Next to that, is an open space that leads into the living room). After carefully measuring and creating a brief layout with string, we decided that knocking down walls to make an open living area was not the best suited layout for our home. We settled on making minor updates, like painting the cabinets, new crisp countertops and backsplash.
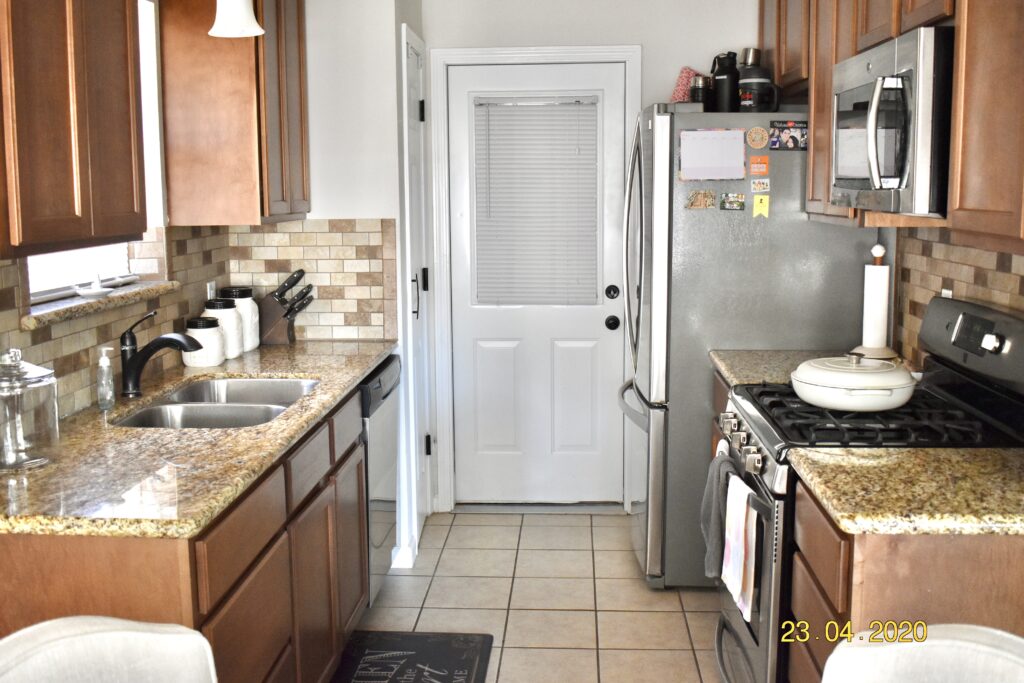
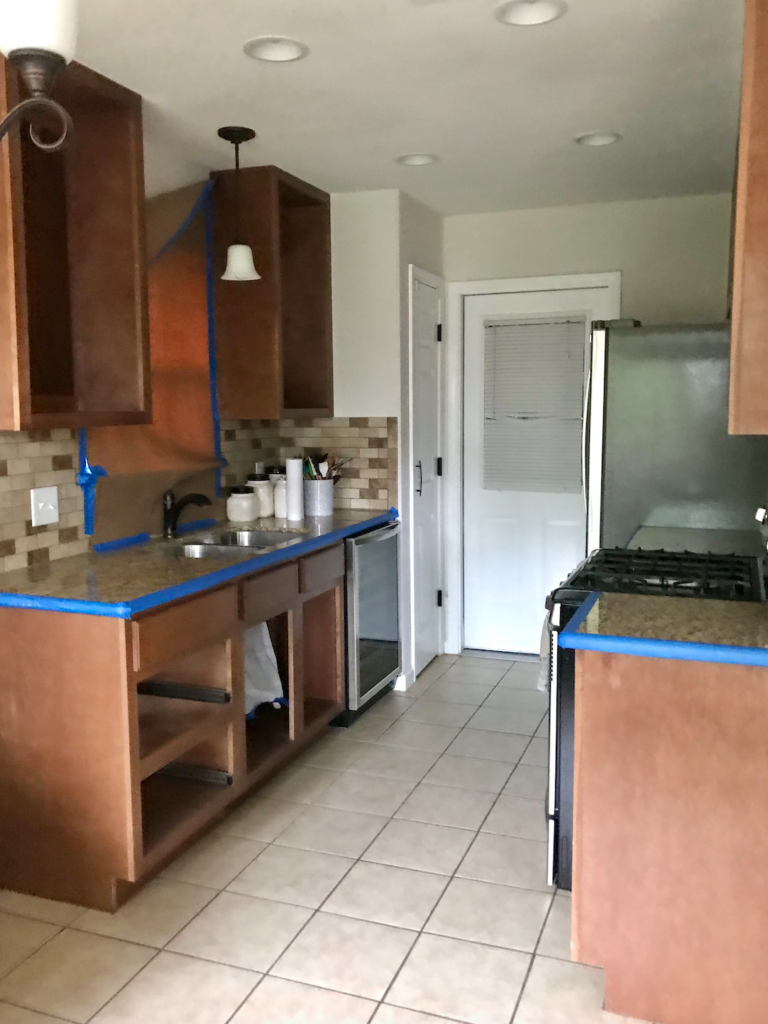
Before and Remodel Process
Our kitchen was, originally, a dark walnut shade with brown, speckled granite countertops and a dark brown brick-like backsplash. But I truly wanted something lighter, fresh and feminine to walk into every day. After all, being a food blogger I spend a great deal of my day in the kitchen and I couldn’t think of anyone more inspiring than Julia- from Gal Meets Glam to take inspiration from her classic, feminine kitchen style. I knew I wanted a combination of the soft blue tones and gold hardware.
All the Blue Tones
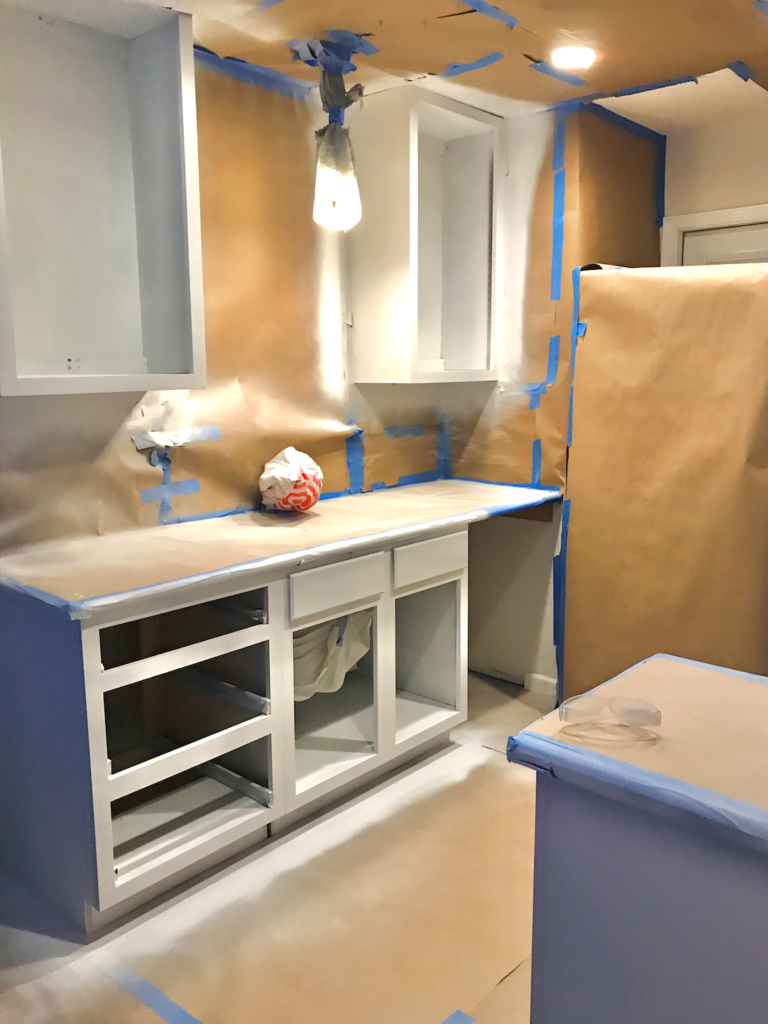
To be honest, I must have gone to Lowe’s a hundred times looking for the perfect shade of blue and here is where my indecisiveness brought me some trouble. There are endless blue tones, blue with green undertones, blues with purple undertones, blues with grey undertones. I came home with samples and started putting them to the test. I ended up settling on a color called Pensive Skies by Sherwin-Williams. After making the decision I was worried that it was too lightly but we went through with painting. We started by giving the cabinets a light sanding by hand, and the we prepped them with this Primer by Valspar. It took three days to prep- we started by removing the appliances and then moved onto to covering the floors, walls and ceiling with brown paper and plastic. Next we moved onto setting up a painting section outside, my husband took down the doors and drawer faces and started priming. For many months he had his eye on a paint spray gun that came in handy in painting the cabinets. You can find it here. It did an amazing job with just one pass. It is a bit on the pricey end but if you do a lot of projects on your own, it is definitely worth the money.
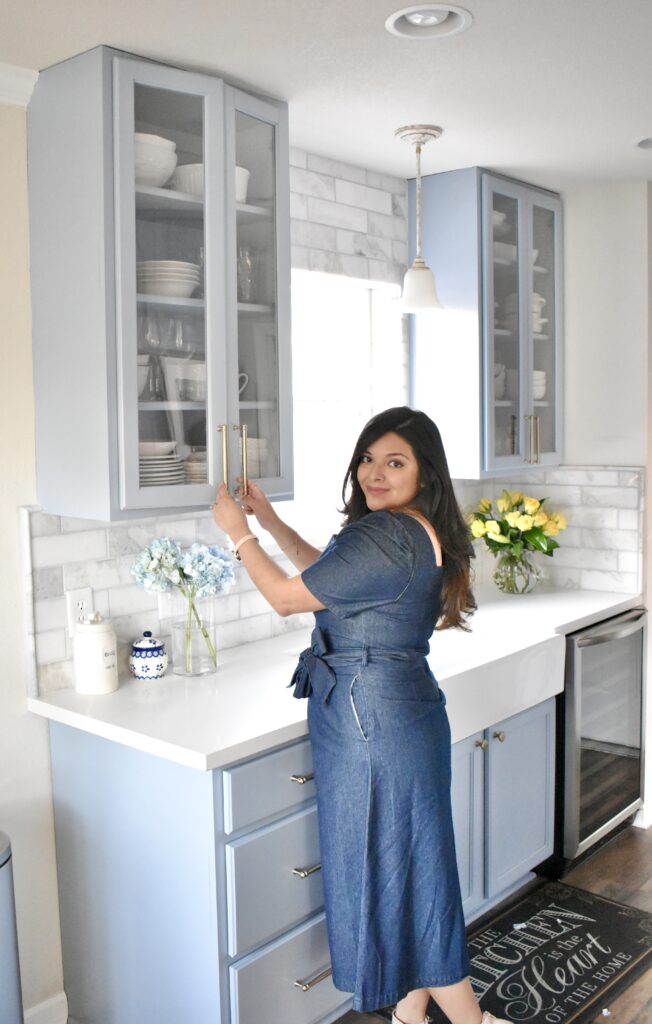
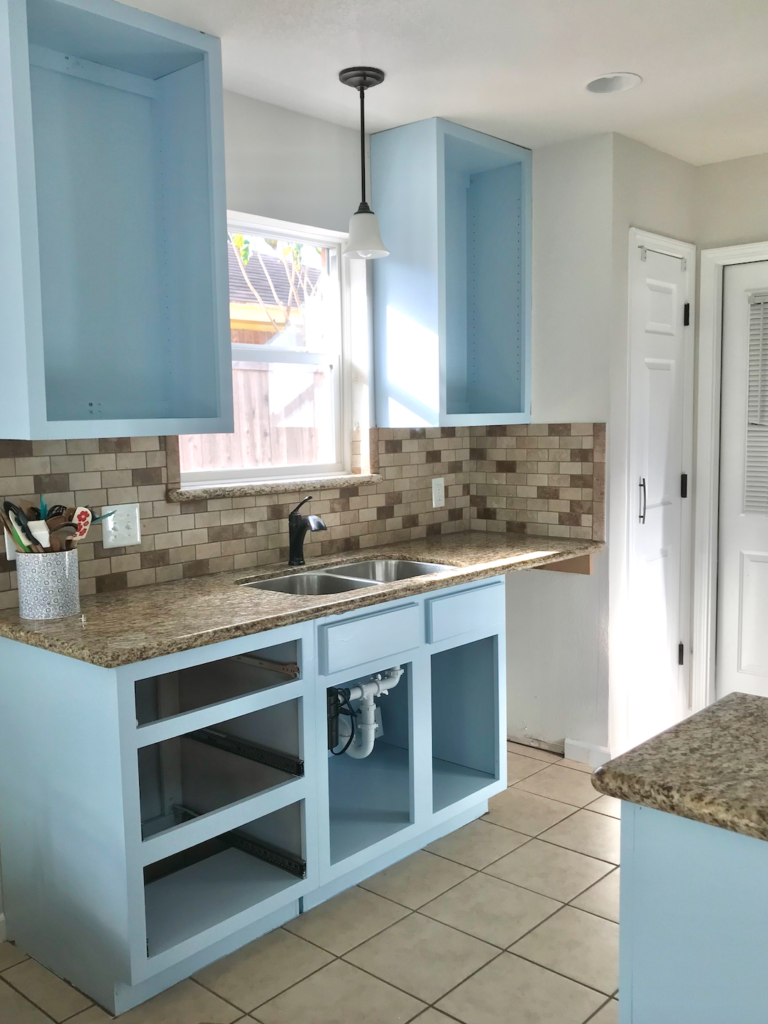
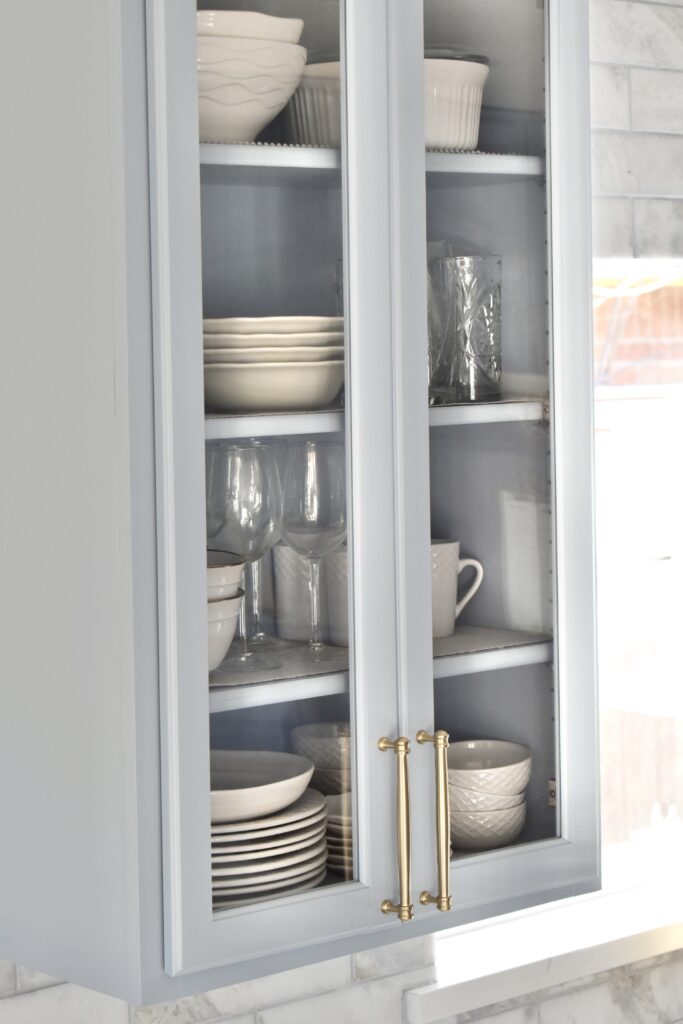
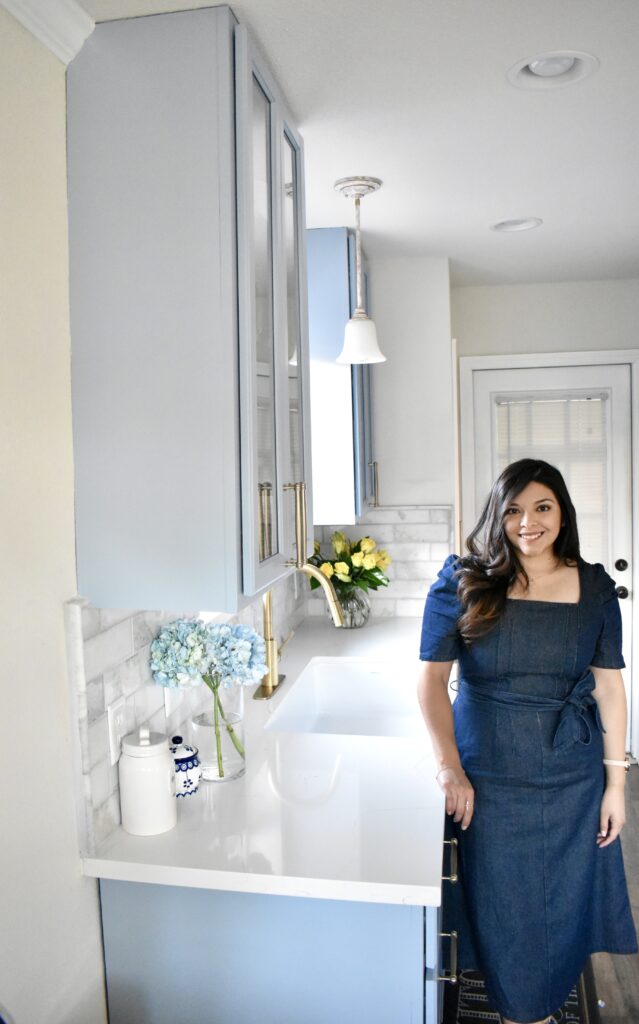
Before he moved on the the next step, I had a request. (My husband knows to well about my last minute requests. He is always hesitant at first but then always finds a solution). I had always wanted cabinets with glass doors that framed the window. So he got to work on finding a way to cut out the middle sections of the cabinet doors.
A Handyman at Heart
One thing you must know about my husband, is that he an incredible handyman. I bought him a shirt that says “I make wood into things what is your superpower?” And he is always up for a new challenge if it means the can get new tools! So needless to say, he always finds new excuses to build his tool collection and I am all for it if it helps him to makes my visions come to life. It was definitely worth the last minute change because I was so happy with the end results and being able to display all of my dishes and glassware.
A Flaw in our design
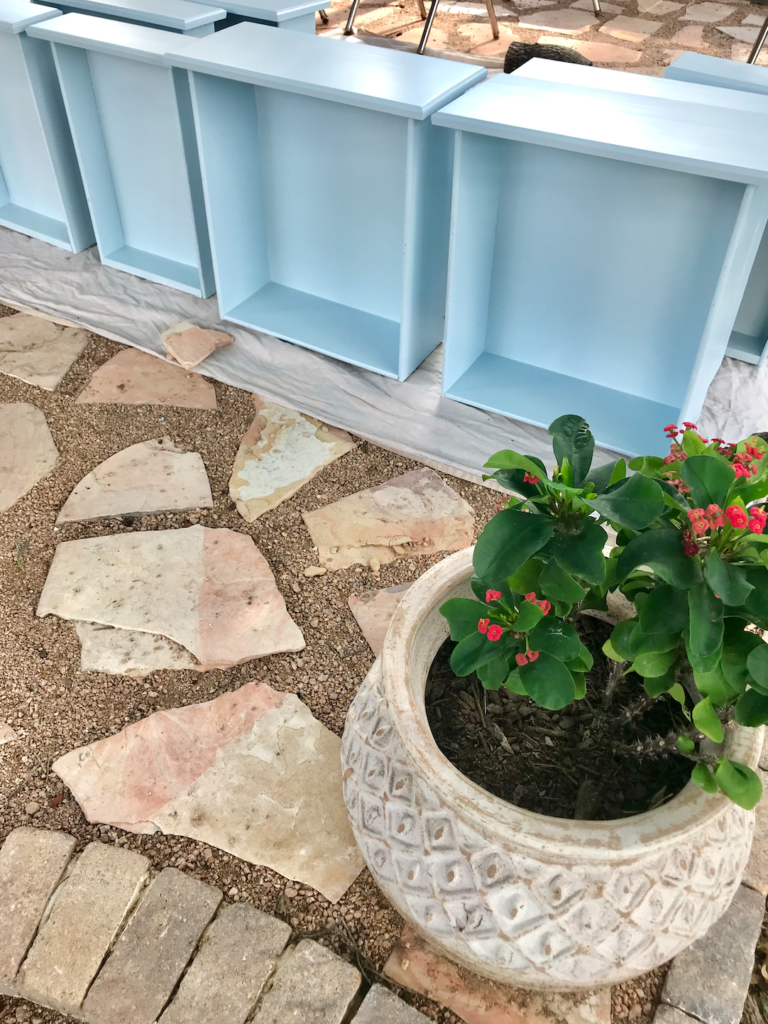
Cristian finished painting and we let everything dry overnight. The next day we were ready to reassemble everything and here is where the big hiccup happened. Remember all those blue samples I mentioned at the beginning, well when my husband painted the first coat of blue I had a gut feeling that I hadn’t quite hit the color on the mark. I had gone with a shade too light and on the green undertone side. Choosing paint is tricky. At the store the lighting often hits it differently than the lighting you have at home. I felt so bad. All the work my husband had done only to not be in love with the color. I thought it would grow on me but it looked like cotton candy baby blue. Luckily my husband is the best and he said, “if you don’t absolutely love we can paint it again.” So I went back for more samples, this time sticking to blue tones with gray undertones. Finally I decided on the correct color- Behind Blue Eyes by Behr. In our case second time was a charm. It was a hassle to have to do everything again, but well worth it, because the color was the perfect shade I was looking for.
Blooper Break
If you want a good laugh, DON’T skip over this! Our dog Hercules loves to investigate any project we are working on, and this time it was no different. The entire time he was very anxious to so sniff the freshly painted doors but we managed to keep him away from them. The doors were just about finished drying when the unfortunate timing of a squirrel, made Hercules run straight into the drying area. You can imagine what happens next- muddy paw prints on some of the freshly painted doors and blue paw prints on the grass, as he made his way across the yard. Luckily I was able to smoothen out the paint, and wash off the paint from his paws! But now we know to leave the pup inside for painting projects!


Kitchen Remodel Reveal
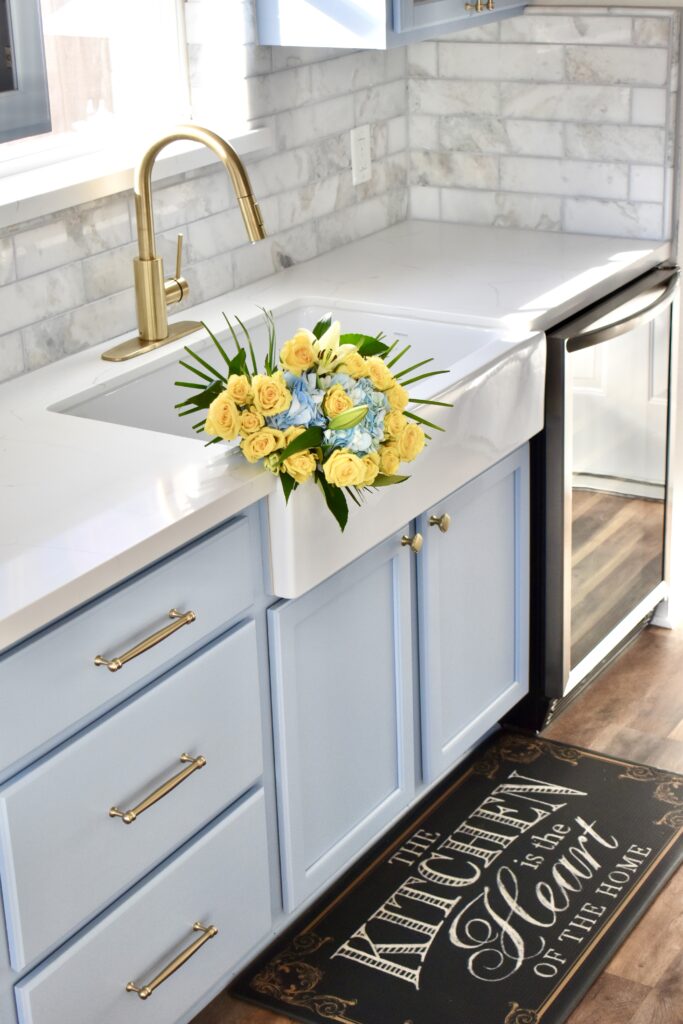
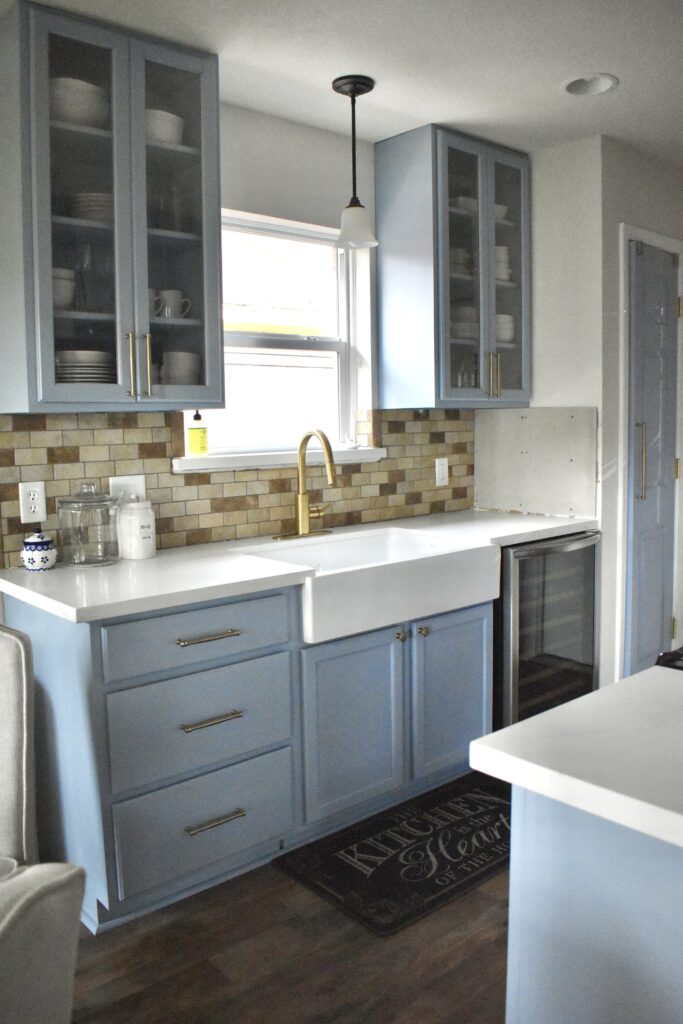
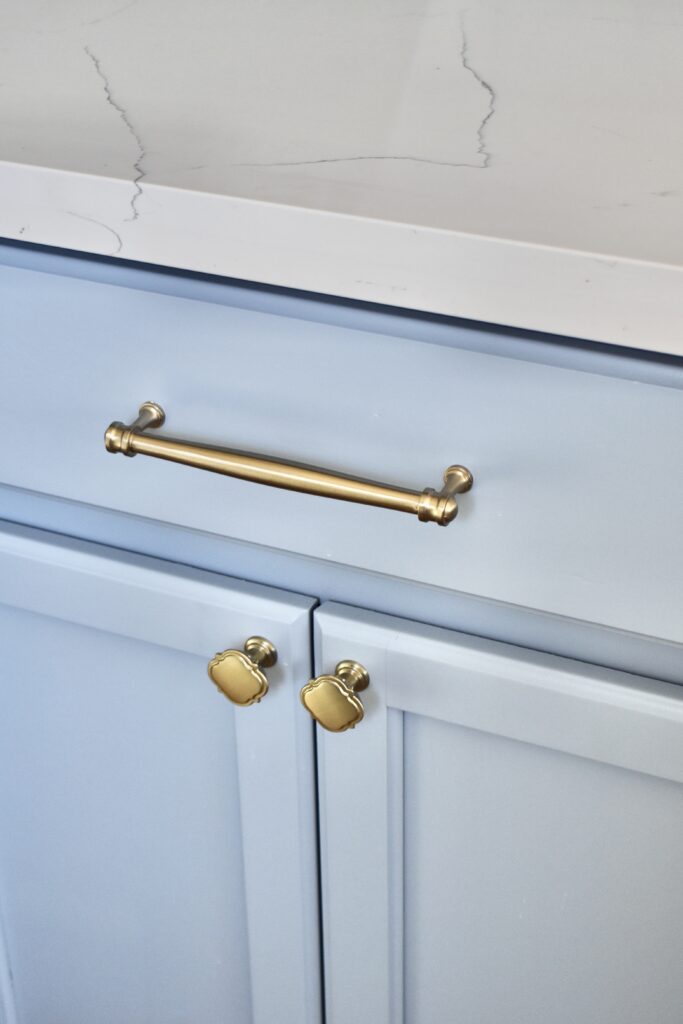
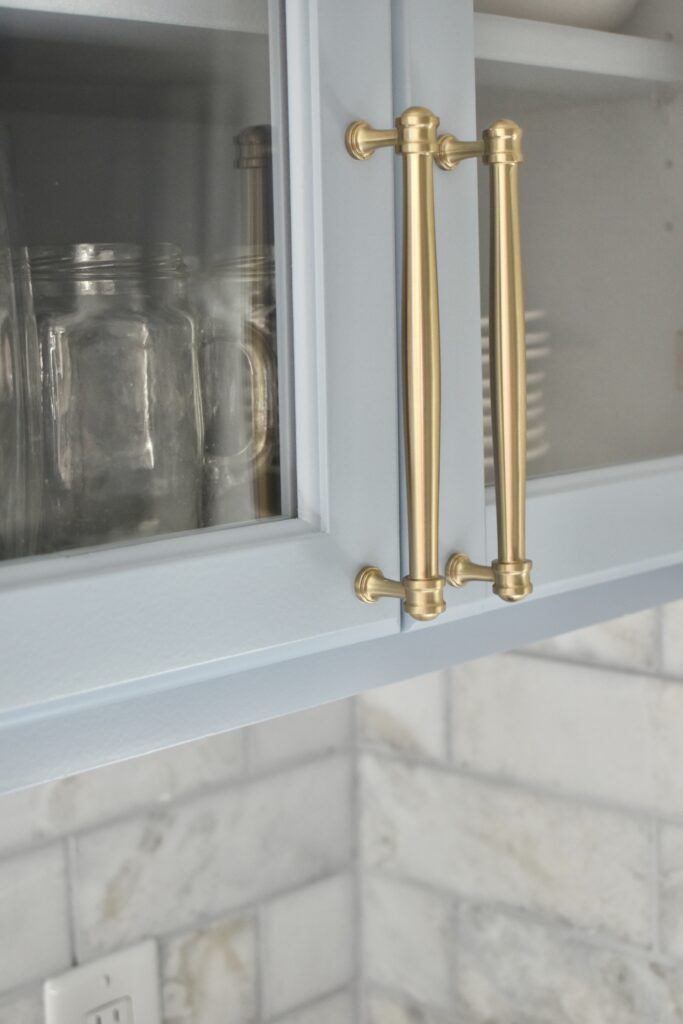
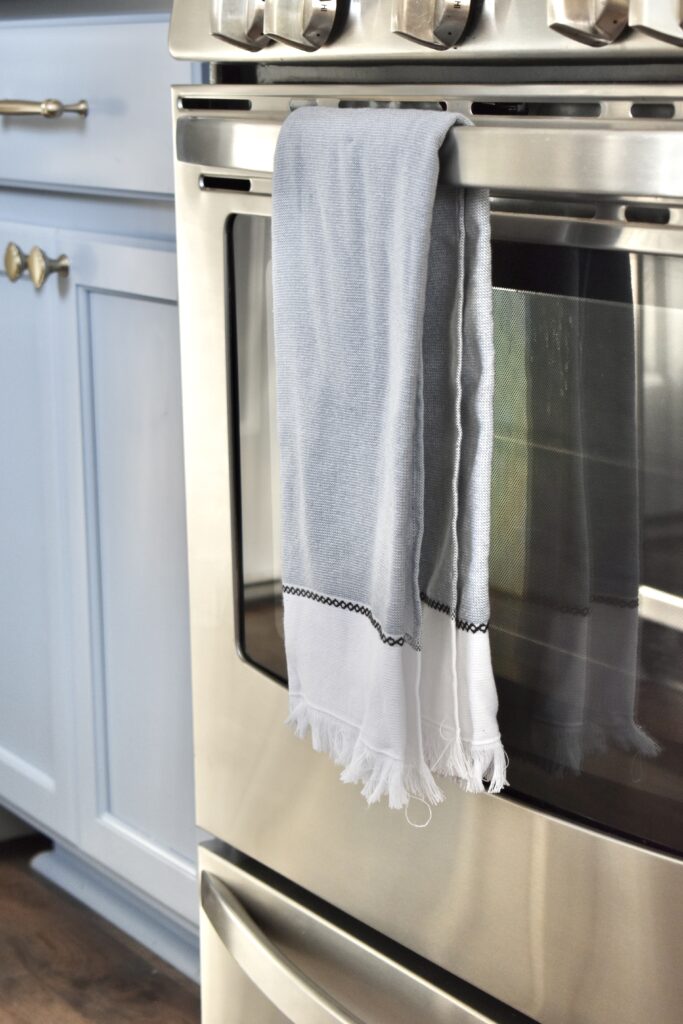
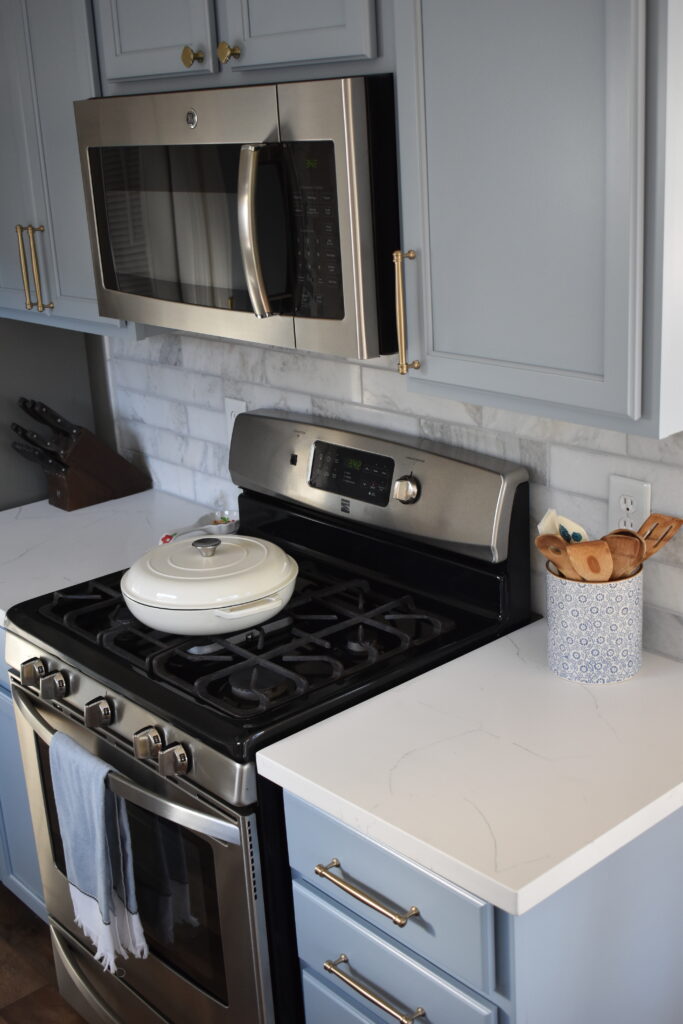
After the cabinets were finished, we ordered our new countertops from a local kitchen remodeling shop. They had a lovely quartz that was just what we were looking for. The bad news was that since Thanksgiving was right around the corner, and so many people were remodeling their homes just like us, we would have to wait three weeks to have them installed. In the meantime we installed and the new hardware. I went with these lovely, long handles from Wayfair in the color champagne brass. For all the smaller cabinets doors I went with these smaller knobs, also from Wayfair. Most of our appliances were fairly new and in good condition, so to save some on the budget we kept all of those the same.
The Key is in the Details
Since we were going with such a bold color on the cabinets I wanted the rest of the kitchen design to be softer to tie everything together. For the backsplash I decided on a marbled brick style. I call it the cozy brick look. I wanted the kitchen to feel bright and airy with a touch of luxury but still tie in with the comfy/ cozy cottage style of the rest of the house. Since our kitchen remodel was placed on a brief hold due to the countertops, my husband decided to use the time to get a head start on installing the laminate wood flooring throughout the house. He finished just in time for when the countertops were ready to be installed. Everything was fast and tidy, and we were happy with the work they did for us. With the countertops and apron sink finally installed we could really start to picture the transformation coming together. We were so close to the finish line. The last thing left to do was install the backsplash. We finished with it in two days, and finally after a month’s long of hard work, our DIY efforts had paid off and my dream kitchen was ready! It makes me so happy to walk in there every single morning, it just has such a lighter feel to it and I completely in love.


One Comment
Beautiful design!! And I loved reading through your process, we’re about to tackle ours and this was helpful.
Comments are closed.