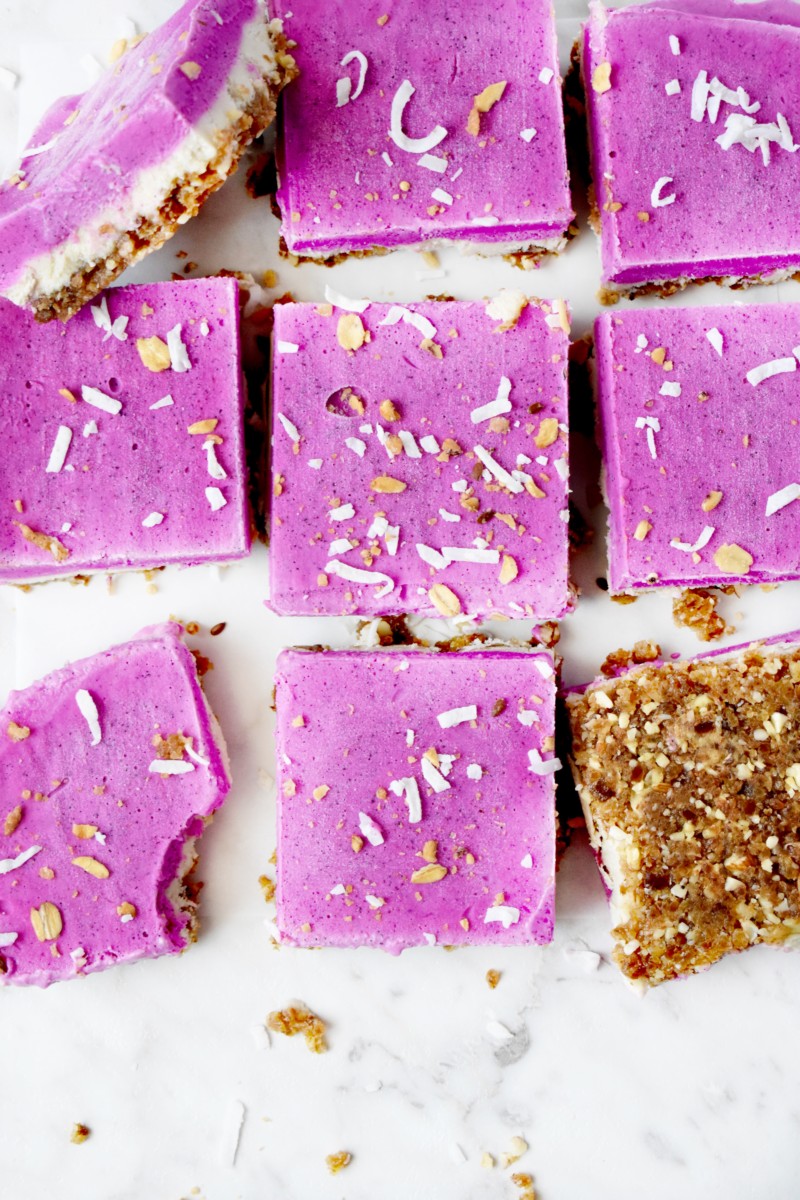
It’s finally summer! Today I am sharing the perfect no-bake dessert for you to cool down in this summer heat- Vegan No-Bake Dragon Fruit Cheesecake Bars. This is a super simple recipe that you can put together in no time. Best of all you don’t even have to turn your oven on!
Now full disclosure (I am not vegan) but I do prefer to create dessert recipes that are lighter and use wholesome ingredients. This is a healthier alternative to the traditional cheesecake recipe. I won’t lie, occasionally I do like to enjoy a slice of raspberry cheesecake. And not to mention cheesecake is one of my husbands favorite desserts (and he does not often crave sweets), so while I don’t veto any food groups, I do choose to limit my dairy, sugar and gluten intake. In search of healthier alterantives I was inspired to create this recipe and use one of my favorite flavors- Dragon fruit. I promise you that this recipe does not taste like a healthy dessert at all! It is indulgent and taste just like an ice cream bar.
What makes this a (Vegan) Cheesecake
I know you are probably questioning- how is it possible to have a vegan cheesecake? I know because I wasn’t a believer at first either. There are options for vegan cream cheese filling but I would be wary of the ingredients on the label. Often times vegan alternative products (especially those used in place of dairy) contain highly processed ingredients, soy, or hydrogenated oils. Remember vegan does not always mean healthy!
This recipe uses a cashew based filling. Yes you read that right, cashews! Many middle eastern based dessert recipes use soaked cashews to create a creamy filling or cream that mimics the texture of dairy. It’s very simply really. To create this filling simply place raw unsalted cashews in a large bowl and add water. Let them soak overnight or if you are prepping the day off, place the cashews in boiling water and soak for 2 hours. Once the cashews are soft to the touch, place them into a food processor or blender, along with coconut milk and any additional ingredients you want to add for flavor , and blend until smooth. You will have a delicious creamy (vegan) that can be used in an endless amount of dishes, both sweet and savory.
Tips for Getting those Perfect Layers
Here is where the real magic happens! I am going to share some simple tricks to make sure you get the perfect layers each and every time. Trust me! I have learned from experience and if you follow these tips, you will wow everyone with how beautiful the layers make this sweet treat look.
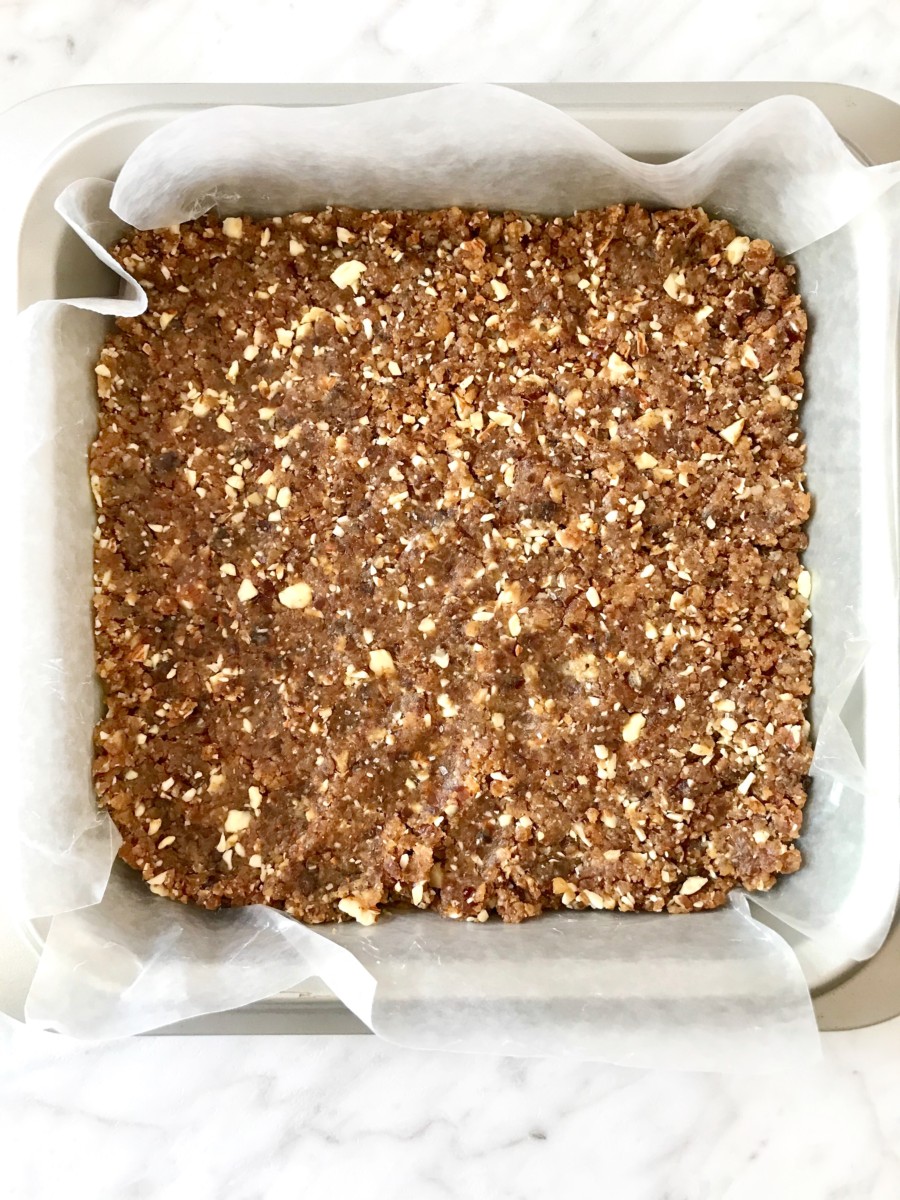
VERY IMPORTANT: If you are making square bars, I like to use a 9×9 inch baking pan and line the bottom with parchment paper. Cut it to size and make sure you leave “handles” so that you can pull it right out. Clean, no fuss and no mess!
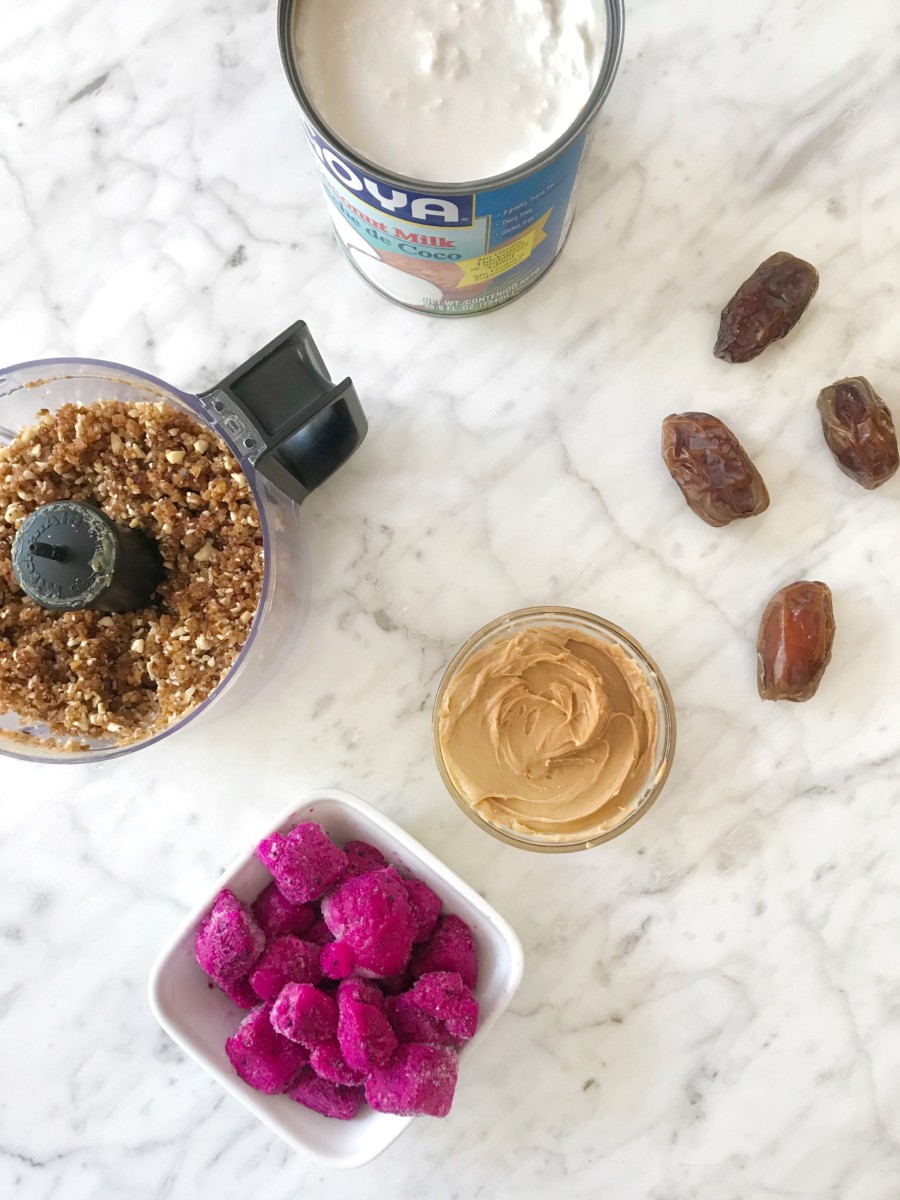
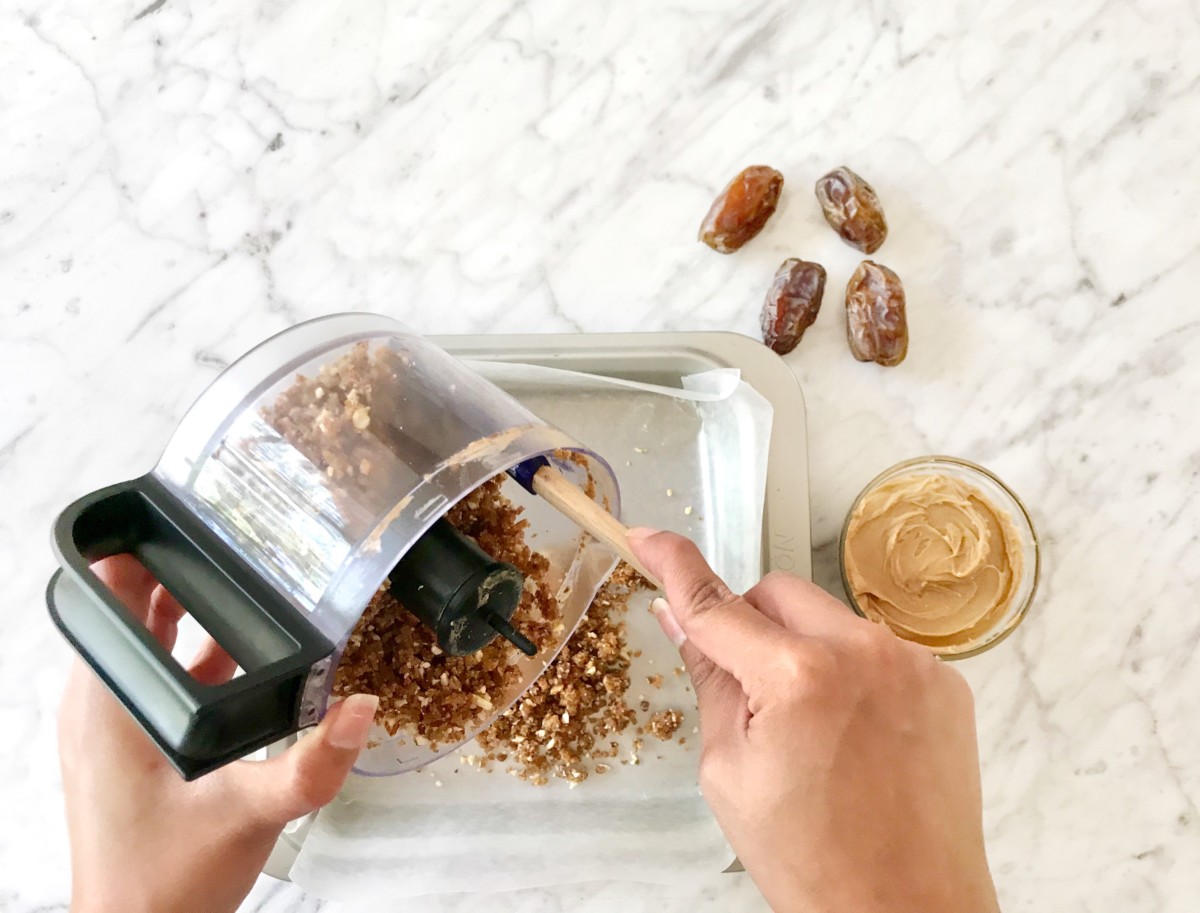
- The Base- If you are like me, the base of any pie, or no-bake bars in this case is the real star of the show. (I love a good crunchy but still chewy pie crust). This one is made from a mixture of nuts, nut butter and medjool dates. This is a dried stone fruit that I consider nature’s candy. They are naturally sweet and you really would think you are indulging on a caramel bar. They add sweetness and also act as a glue to hold everything together.
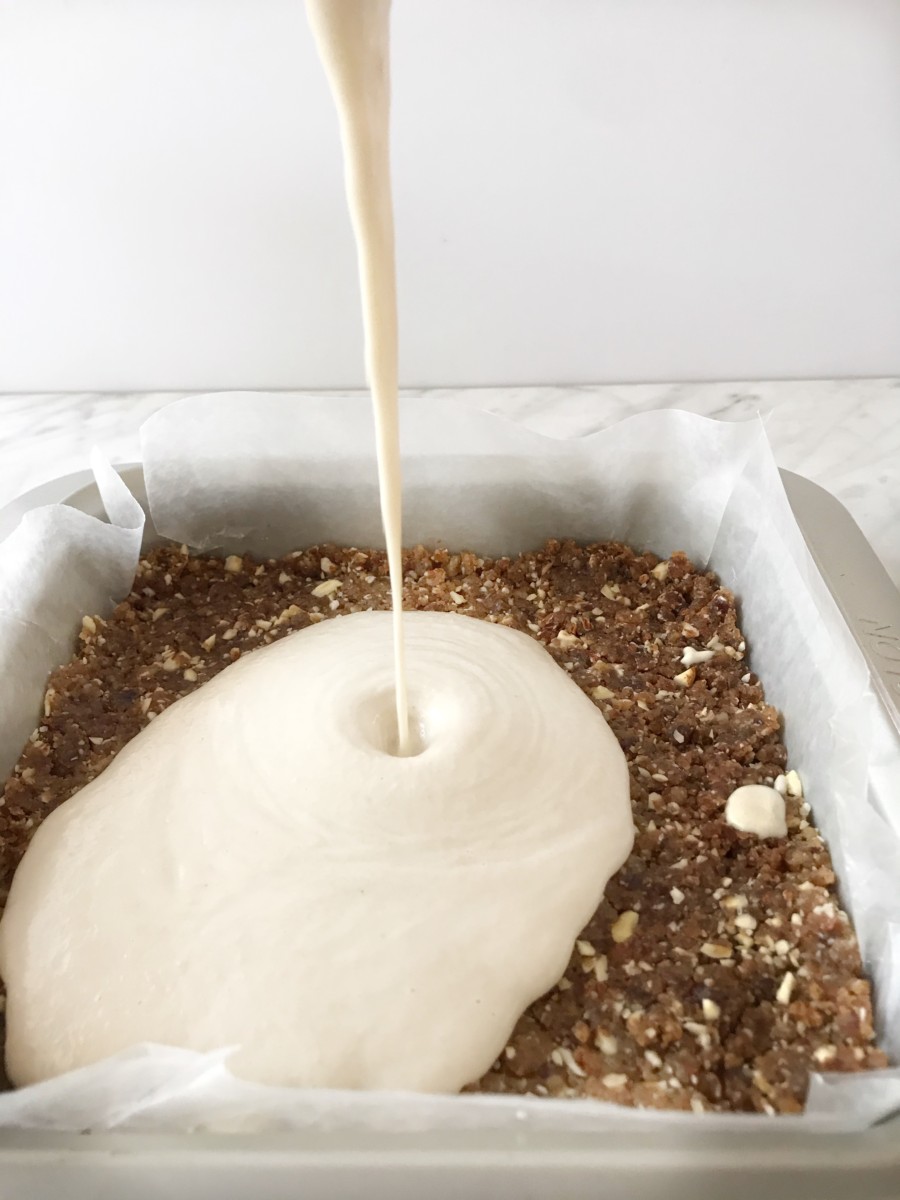
- The cashew filling- For this recipe the middle and top layer are essentially the same batter divide. I save about a third of the batter and add the frozen fruit, this will become the top layer. After you have prepared the cashew filling and divided it, pour it over the base layer. Pop it into the freezer for 1-2 hours or until solid.
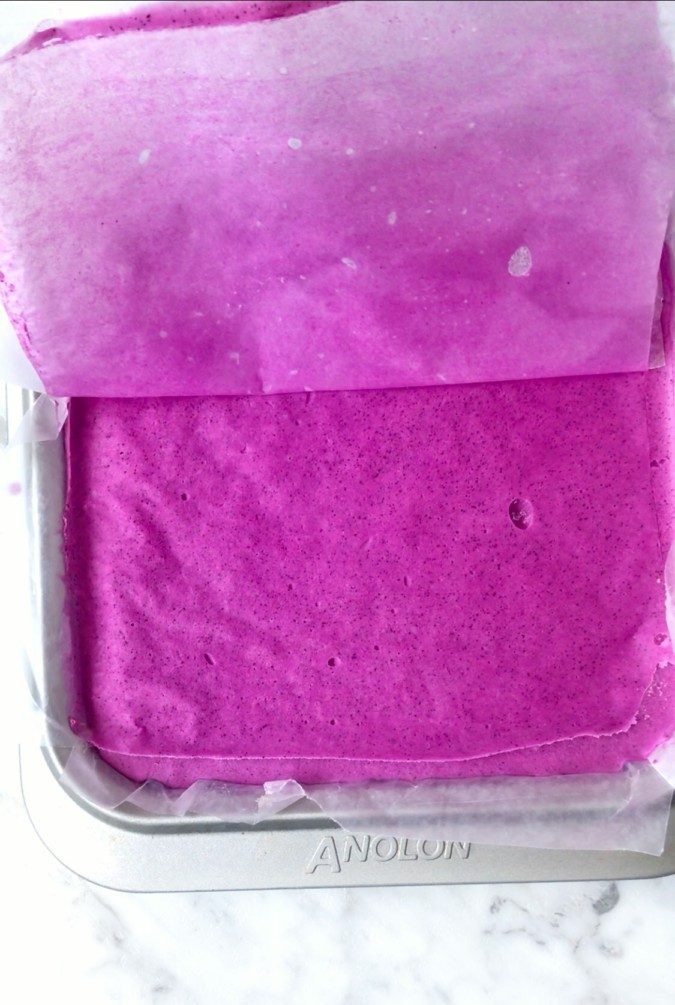
- Take the raining cashew filling and add your frozen fruit of choice. For this recipe I chose frozen dragon fruit. I like the Good & Gather brand from Target. It helps to use frozen fruit or fresh because fresh fruit release natural juice that will cause the batter to be watered down and it may run through the layers. Remove the baking pan from the freezer and carefully pour the remaining filling on top of the second layer. Here is a great tip: place a piece of parchment paper on top of the last layer to keep it smooth. (This will also prevent that freezer taste). Place the no-bake frozen bars back in the freezer and freezer for 4 hours (overnight is best), or until solid.
The Perfect Summer Treat
This is a great recipe that has a variety of ingredients that all balance each other out giving you the perfect combination of sweet, salty and nutty with burst of fruity flavors. It is the perfect summer dessert and it is absolutely beautiful to look at. I think they taste just like ice cream bars. Once you are ready to eat cut them into 9 squares, take your pick and place them back in the freezer to keep them frozen. These will last about 1 week. Get ready to indulge this week!
Dragon Fruit Cheesecake Bars (Vegan)
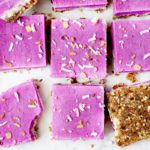
These delicious no-bake, vegan cheesecake bars are the perfect summer treat. They have a creamy cashew case and are beautifully colored with a dragon fruit frozen blend.
- Prep Time: 30 minutes
- Total Time: 4-6 hours
- Yield: 9 bars 1x
- Category: Dessert
- Method: No-bake
- Cuisine: dessert
- Diet: Vegan
Ingredients
Base:
10 Medjool Dates
2 tbsp peanut butter
1 tsp vanilla
1/3 cup of walnuts
1/3 cup of almonds
Pinch of sea salt
Cashew Based Filling:
1 cup raw unsalted cashews ( softened in warm water)
1 cup coconut milk
1/4 cup honey
1 tsp vanilla
Lemon zest and juice of half a lemon
1/2 tsp grated ginger
1/2 cup frozen dragon fruit cubes
Instructions
1. Line a 9×9 in baking pan with parchment paper leaving and overflow at the sides to act as handles.
For the Base
2. Using a food processor or blender add in the pitted dates, peanut butter, vanilla, almonds, and walnuts. Blend until you can form a small ball with your palm.
3. Spread the mixture in the baking pan and press gently to form the base. Sprinkle some sea salt on top.
For the filling (Middle layer)
4. To a blender add in the softened cashews, coconut milk, honey, vanilla, salt, lemon juice and zest and ginger and blend until smooth.
5. Separate a third of the batter for the top layer. Pour plain cashew filling over the base and pop into the freezer for 1-2 hours or until set.
Filling (The Top Layer)
6. To the remaining filling add the frozen dragon fruit chunks and blend until smooth. (If necessary add more coconut milk).
7. Once the middle layer is set, carefully pour the last of the filling mixture and spread gently.
8. Place the bars bake into the freezer and freeze 4 hours or until set.
9. Once the frozen bars are set cut them into 9 squares and top wit coconut shreds and nuts. Enjoy!
Notes
To prepare the cashews, place them in a bowl with water and let soak overnight or boil water and pour it over the cashews, cover with a lid and soak for 1-2 hours, or until soft to the touch
Refrigerate the coconut milk the night before and use only the top layer that is full fat.
Place a piece of parchment paper over the top layer to keep it smooth and to prevent that unpleasant freezer flavor.